More Anet A8 problems

Printing on the Anet A8 last night I heard a thump from upstairs, where the printer is located.
Going upstairs, I found a pen on the floor – obviously not liking the vibrations of the printer. Thinking that was it I went back to what I was doing.
Later I checked how the print was going, only to see that there was a shift in one or both of the axis, arghh!
Oh well more Anet A8 problems.
Looking closer I found that the bearing cover which takes the gt2 belt on the Y axis had shattered and the belt was loose, still tight enough to print, but for me very loose.
The print was on 33%, do I kill it or let it go and try to break and glue it?
As it is part of a plane print I decided to kill it.
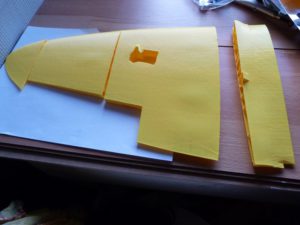
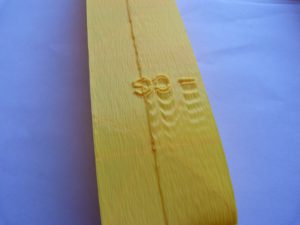
Taking the piece off the bed I noticed classic lines of loose belts.

So here is a picture of why you should tighten your 3d printer belt.
left tight belts – right looser belts.
Solution

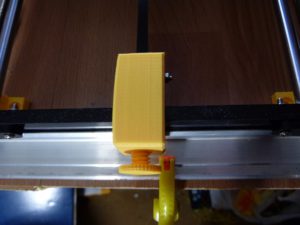
As my last Y axis adjuster decided that force is something it didn’t want to deal with and broke I have just printed off another Y axis adjuster, the anet a8 Y belt tensioner – remix v2.
I have a piece of angle across the front of the printer so I am limited as to what I can fit.
I hope this one does – if not I will have to design one to suit.
Update: an hour of filing to clear the square holes and the adjuster is fitted.
I still need to add a bracket for the sd card extension, usb extension and now the led light switch, oh and I could add in a filament guide as well – it keeps knocking off the switch and sd card holder!
So what do you take away from this – add belt tensioners in the X and Y axis.
Don’t tighten too much but no slack.
Print a test piece with text – maybe the cal cube and see the difference in quality between slack belts and tightened belts.
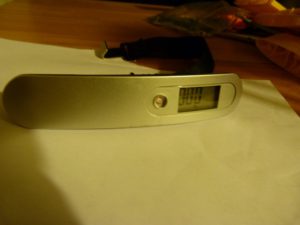
I now use a baggage scale to check the tension on my belts.

At the center of the belt with the print head to the left and the bed to the rear, I try to get about 5mm movement with about 0.4kg force.
This is difficult to control but I will design something to make it easier.
So after carrying out this I will go through a cal print and check the level of the bed., if I need to adjust I will print one more to make sure, then back to it.
When I have another problem you will hear about it and what I did to correct it, to be kept up todate why not sign up and you will be the first to know.
Hopefully there will not be too many more Anet A8 problems.
Thanks for reading
Phil
