Smooth PLA prints – how to achieve them
Have you ever wondered how to smooth PLA prints – if so read on…
You have invested money into your printer, and time if you have built it yourself.
You have got to know how it works and are happy that you can download and print within its capabilities.
But some days you look at the prints and think why is there not a vapour bath for PLA as there is for ABS?
Well I’m not here to tell you there is a safe bath available for PLA, but that there is an easy way to get your models to look polished.
As most of you are aware the finish of your model will depend on the layer height you select when you slice it.
But as with most things there is a downside to picking the smallest layer height you can – time and lots of it.
You can quickly go up from an hour to 5 hours or more by going down in layer height.
So what is the alternative?
I have started printing as standard on 0.2mm layer, yeah I know most of you will say – that must look bad!
Well it does straight off the printer, then I post process the model and it finishes up shiny, smooth and looks like something you would buy in the shops!!
How do I do it?
I started looking at this problem when I started in 3d printing a few years ago.
I have tried various chemical, the safe(ish) ones and machines, all these did was either nothing or created a mess.
So I started looking at how the model was constructed, it is built with an accurately placed glue gun.
So what is stopping people using heat to smooth the layers out?
I bought a few real cheap soldering irons from E-bay and turned the heat down low.
These started sticking to the plastic and tearing it, so I turned the heat up. A lot of the time I was then melting the model so it drooped and distorted. But this did partially smooth the outside, so how to improve the process.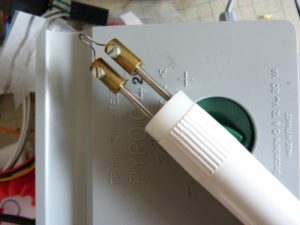

My partner had, a long time ago had a play with pyrography, controlled wood burning. She had a couple of Janik pyrography irons. The power supplies on these are big enough to keep the heat in the tip for a long time, so I thought I would try it.
The model I ended up using is the G4HW – g4 hot wire. This model allows you to create any shape wire between to electrodes. It is a low wattage iron, only 20 watts but due to the fact that the wire is very low resistance the current is high.
I am able to get the wire glowing red hot if needed, I tried this and vapourised the plastic. Hmm… need to turn it down a bit!
So with the iron turned down to half, I started to have a play.
The wire started dragging similar to the soldering iron, so will this not work?
I turned it up a bit, after a while I found a heat and movement which took the ridges of the printed model down and didn’t burn through 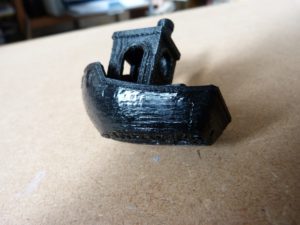

You have to practise a bit and it is worth trying this out on ‘spare’ models – the ones that are destined for the bin. You never know you might be able to make something out of them as well with this technique.
With the control set at the right setting you need to keep the tip moving, or you will create more problems than you solve, but with a spare wire pack you are able to make the shape of tip you want.
Looking around it appears that this model is no longer available!! typical!
You could look at making your own
Or look at this (#amazon link) one
The reason I went for this over the soldering iron is the time to getting hot and the versatility of the iron.
Your hand is very close to the tip, unlike the soldering iron so you have much better control over the pressure along with accuracy. The pyrography iron acts like a pen, whereas the soldering iron acts like you holding the end of a stick and trying to paint with it. I think you will agree not very controllable.
Once reasonably smoothed – you will probably never get it completely smooth with this technique, but for models you want strong you can use this to melt the layers together, increasing the strength. Easier than putting it in the oven – and more controllable.
If you are after a textured finish you could leave it at this, but I then started photographing pieces and looked in horror at what I had taken a picture of. What I thought was reasonably smooth, was very lumpy and looked awful.
Stage 2
So onto the next stage, sanding.
With the fact that you have melted the surface together you will have an easier time sanding it smooth. You also have less chance of breaking through the layers.
When I first started out on this journey I found that I would sand the model down to the point where it was smooth with coarse grit, then go through medium and fine. Only to find that on the fine grit I was cutting through to the next layer and the surface was all ridged again. I almost gave up at this time and set the method to one side to think about it.
I purchased a set of mesh sanding strips (ebay link), knowing that PLA will not take the heat you can very quickly over temperature the material with standard sanding sheets.
With the mesh strip you are feeling the temperature with your finger through contact and move to a different area when you feel any heat at all through the mesh.
I had to buy some finer grades as well, 1500 and 3000. These will help with the finish. Used wet they stop clogging the paper.
Don’t forget to dry your model off before the next step.
First coating
So your model now looks very scratched – not the finish you were looking for!
Now we add a thin coating to fill the scratches and bring out the shine.
What do I use – cyanoacrylate- or more commonly known as superglue!
Be careful when using this stuff , it really sticks.
I know you are attached to your models but you really don’t want to be that attached!
I buy it in medium viscosity (#amazon link) 50gl bottles.
Applying the finish is by opening the bottle and carefully dropping two or three drops onto the model.
You then use a rag – or tissue to wipe the liquid over the model.
Again I want to stress that you must be careful not to allow the cyanoacrylate to soak through the rag or tissue and stick to your fingers!
Once you feel it dragging slightly then stop.
Leave for a few minutes to dry.
Go back to the 1500 grit paper to flatten the surface off.
Polishing
The cyanoacrylate forms a hard coating onto the plastic, this is less susceptible to marking and is more work friendly.
It doesn’t mean that you can go mad, the plastic underneath will still melt!
I use a polish called (#amazon link)Quixx by xerapol


Using a clean cloth I put a few drops of polish onto the model and polish with the clean cloth.
Don’t forget to buff the polish off with another clean cloth to see you model shine.
Results- How to smooth PLA prints
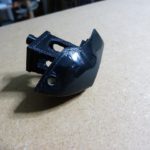
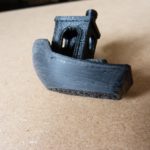
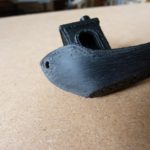
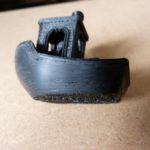
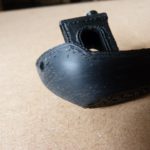
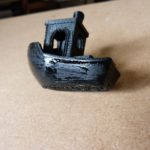
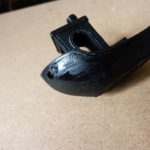
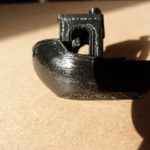
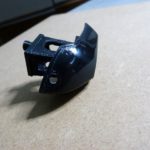
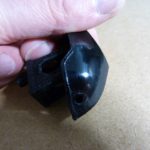
You should now have a model which is shiny. Yes it has taken some work to get here, but the end result is worth it.
You may not be doing this for every model you print out – or it may not be practical, but at least you have a post processing workflow to allow you to strengthen your model and then finish it to your satisfaction.
Other things you can do with the pyrography iron is to repair models.
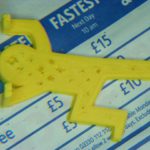
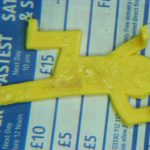
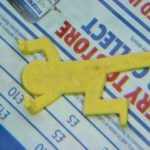
I had printed out a climbing man , but as you can see he was full of holes.
So with some spare filament and the pyrography iron i set to work filling the holes.
It is not brilliant but you can see that all of the holes are filled and the model slightly smoothed.
If you finish your models in another way, leave a comment in the box below.
I hope you have enjoyed my way of how to smooth PLA prints, if you have click and share the post with your friends.
Thanks for reading
Phil
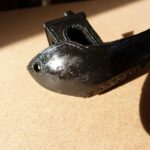
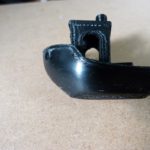
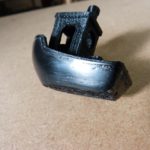
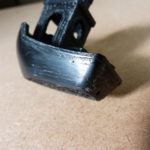

Great work!
Thank you Bogdan,
What projects have you printed which may use the techniques in this how to smooth your pla prints?