
Happy new year to you all.
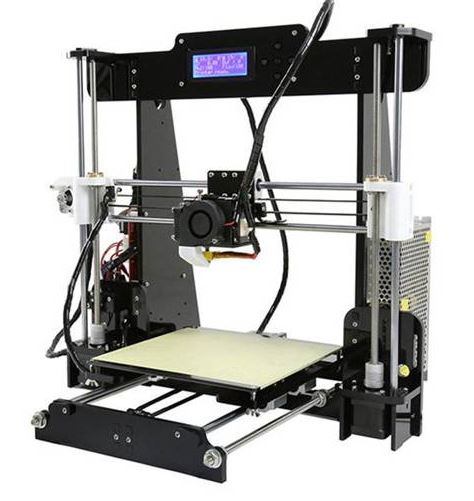
Prior to the Christmas break I was printing with my Anet A8 3d printer.
I had the slicer vase mode set– if you haven’t tried it you must.
Vase mode produces, in some slicers, a continuous spiral – no steps in layers and only one shell thick no infill.
Great for vases!
But people have found that you can print other items, which follow the rules – continuous circuit on each level.
So a mathematical christmas tree and other objects have appeared.
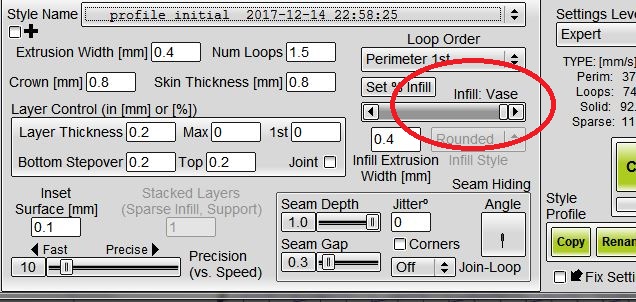
The first slicer I tried with vase mode was KISSlicer.
You have a lot more control over most things with this slicer and it can be very confusing to start with – it is really frustrating that most of these slicers call the same thing by a different name – just trying to be clever I think but to the end user it is very confusing.
Anyway, I had gone through a certain number of calibrations with KISSlicer and thought I was getting somewhere.
They have model which does not slow your printer down as a calibration piece. Download it here.
So I was getting on with the vase mode ( found by sliding the infill slider to the right in the style tab) and not really being happy with the fact tat it would print like a normal print – with the z axis going up a full level each layer, but with no experience in vase mode how do you know different.
I started printing out the Christmas trees, and found a few problems -like minimum layer time – the printer would, at the top of the tree, raise the print head and wait then resume. The top would then not print properly.
Another reason to look at the sliced file before printing, so I did next time and thought I had cracked it – it was ok until about 1cm from the top where it did the same again, even with the min time per layer set to 0.

so enough of this I changed slicers, I went back to the one I think most people have used Cura.
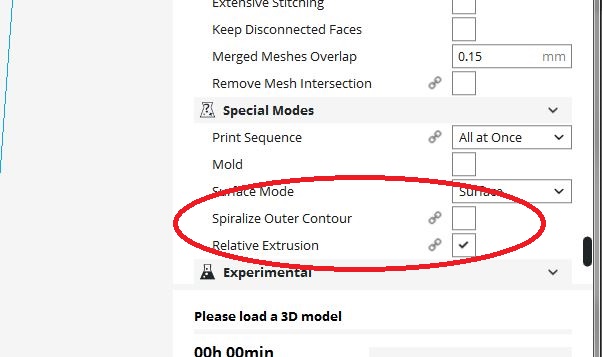
Reading through some of the older posts on forums I came across the fact that in cura vase mode was called ‘spiralize the outer contour’ – vase mode is shorter and more descriptive!
Activate it by going into expert settings and click the selection.

So I tried a print in this and wow – I sat there for a fair few rotations of the christmas tree, watching the z axis continuously turning ever so slowly the print nozzle never stopping and the filament continuoulsy being fed.
What a joy!
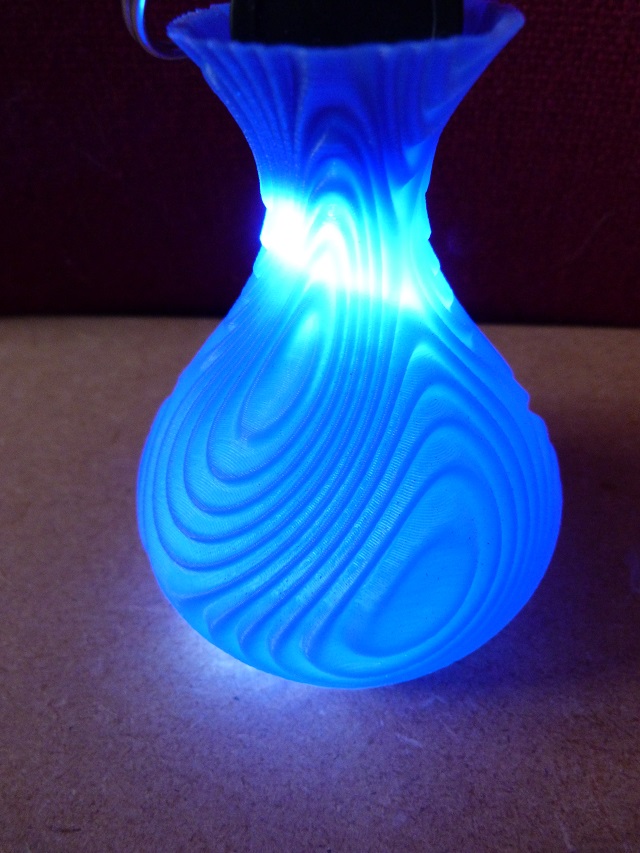
The print – well there was no seam to start with, it was as people had described vase mode – a very thin single layer structure.
And it printed to the very tip with no problems!
I like the idea of KISSlicer and will go back to it in the future, but at the moment I am back with Cura, version 15.04.6 at least.
With the success of this I looked on thingiverse and downloaded a few more vase patterns – I can recommend the vases by Ferjerez Mathematical creations which if you have scad you can play with.
Some of the vases and bowls absolutely stunning – thank you Ferjerez.
Printing some of the vases I noticed that in the overhangs there were gaps, looking for the answer online I read that this was due to poor machine setup, hmm what had I done wrong?
I had printed a few more things in ‘normal’ mode and came back to this.
Setting the slicer up and saving the gcode I printed another vase and waited.
This time the walls were thicker and it had all worked, even the overhangs had printed properly.
Looking at the settings in Cura I had left the wall thickness at 0.8, printed with a 0.4mm nozzle. I didn’t think this was possible, but it did it, over extrusion maybe? But I don’t care it worked.
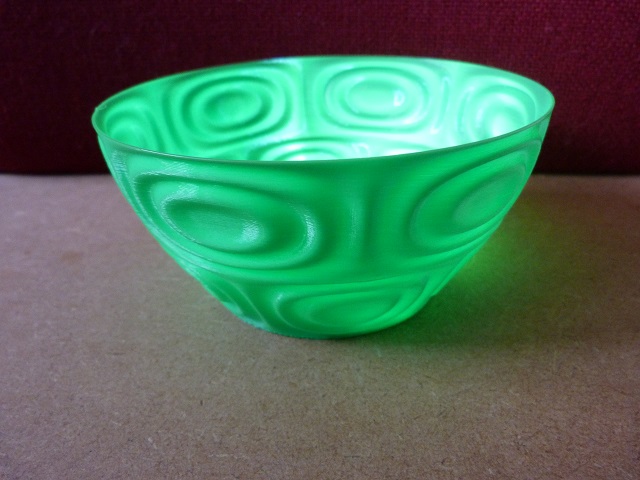
So I went ahead and printed a bowl from the same pack and again it came out with a thicker wall thickness and was able to hold its shape well.
I downloaded the later version of Cura – 3.0.2 at that time and had sliced the same model, I need to sort out the start gcode so it acts the same as the old version and not drag the nozzle across the bed.
I hadn’t really explored it with this program and updated to version 3.1.0, it loads so slooowly on my PC.
I downloaded another ‘ test your printer’ file by majda107 and h
ad sliced that in the latest Cura, saved it – had a quick look at the layers and copied it across to my sd card.
On printing it I thought something was wrong with my printer – the first layer would not stick and the further the machine got into the print the worse it was.
Using a screwdriver I was constantly adjusting the height of the bed – flashbacks of the old days when my Z axis endstop was loose – nope it still wouldn’t stick.
I happened to glance up at the display and saw the Z height at 0.8mm and thought – that’s strange it should be on the first layer, how come.
Then it dawned on me, my hand slid slowly around to the reset switch on the main board and pressed it.
The print head was slid across to the left and the mess on the bed was cleaned up.
Back to the PC to slice it again – this time untick the ‘spiralize the outer contour’ and slice it again.
Yes I did laugh and wonder at the software engineer who could have added something to the display to say that you are in a ‘special’ mode rather than standard mode. But no they leave you in the dark with most of this. And people wonder why 3d printing does not take off with the masses!!
yes I did check the layer mode more carefully this time and yes it did print more than just an outer shell. I do wonder what it really would have printed if I had left it and the layers had stuck together- would It be a ghost outline of the model which it was going to print?
So if you take nothing else from this – make sure you check that you are not going to print in vase mode when you expect something else!
And increase the wall thickness of vase mode to make your models a lot thicker and stronger.
I did notice when playing around with the later Cura 3.x.x you will need to exit the program and restart it to get the model to slice correctly.
Good luck with your printing. so go and have fun with your slicer vase mode.
Thanks for reading
Phil