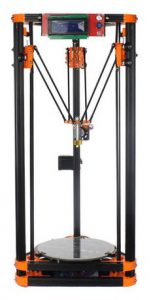
What’s included in this build your own 3d printer kit part 1
Introducing the Renren 3d LE delta printer
I have owned a Prusa I3 clone for about a year now and have been looking around for another printer. I fancied a build your own 3d printer kit project.
I have been happyish with the results from the Prusa, but it has had its issues.
The print quality from this printer was good, but I felt that it could always do better and just recently I have found that getting the first layer to stick across the build platform was very hit and miss.
I came across a deal for a delta type of printer and felt that it was too good to be passed over.
I had always had my eye on one of these, I liked the way the printer used vectors to move the print head rather than direct x,y and z.
Are they better? Well I hope to find out.
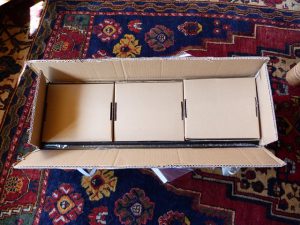
I ordered the kit and it took a couple of weeks to arrive. Turning up in a box which is 27in x 9in x 5in (685mm x 228mm x 127mm). It is well packed for its journey. Mine had a minor puncture wound but all of the contents are ok.
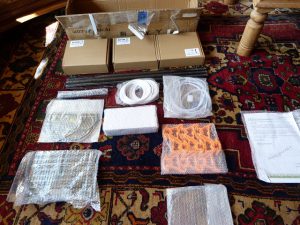
So opening the box you are presented with some inner boxes. Removing these you find all of the other bits packaged within bubble wrap bags, along with the instructions.
The instructions consisted of how to activate your account to get the build instructions, a crafty way of getting you to register and know when your printer arrives. Due to the time difference of where the printer is purchased, the wait for the instruction can be frustrating. As soon as you have opened the box you want to start to build it!! even the sd card is blank!!
The included packing list is used to verify all of the parts are present.
You need a little space to build this as it is quite tall and needs laying down occasionally.
- Is it difficult to build – not really, as long as you take your time and don’t rush things.
- Is there a lot to do- yes, you are building a complex electro-mechanical device which will take a plastic filament and produce a 3d model.
- Should I do it – of course you should if you can follow this step by step you can build your own 3d printer.
- But I am not technical – if you follow the instructions you don’t need to be – I will try to explain why you are doing what as we go along so you can grasp the fundamentals of what you are doing and why.
There is a forum on the renren 3d site where you can ask question also there is a facebook page where you can ask for help, you can also ask me and I will try to help.
Clicking on any of the pictures will bring it up large – so if like me you are getting hard of sight please feel free to click on the image and then use the back button to return here.
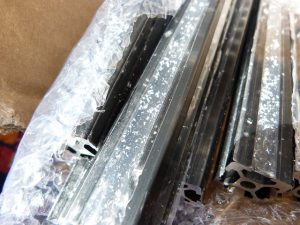
The first thing to do is to take all of the cut extrusion outside and strip off the plastic protection. Why you ask, well mine, I thought at the start, had a nice crackle finish until I looked closer and found that it was all of the swarf left when the pieces were cut at the factory. This was trapped under the protective coating and threatened to shower the carpet with small pieces of aluminium when disturbed.
After you get back from disposal of the outer protective coating and have wiped the extrusions off we can start the build your own 3d printer project.
End stop switches
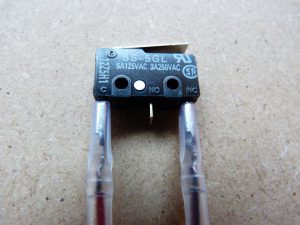
The instructions from the web site start with wiring up the endstop microswitches.
The wiring for these will be found in accessory box A, they are one of the items not detailed on the parts list. The limit switches are also found in accessory box A.
wire the black onto the NC ( normally connected ) pin and the red wire onto the common pin. The way round for the connection don’t really matter as it is used as a low power switch. From my engineering background I would like to see the NO ( normally open) connection unpowered when the switch is in its depressed state, this means that the center pin has no voltage to get shorted .
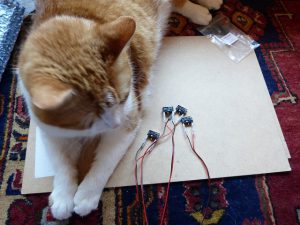
As you can see I had my quality inspector check out my wiring – I still can’t tell whether he was impressed or not.
Timing gears
The timing gears are fitted to the stepper motors next.
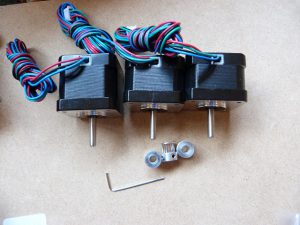
You will find the gears in accessory box 3 and the motors in accessory box 2. make sure you leave the largest motor for the extruder and use the other 3 for the movement motors – two of mine were the same size and one larger, with an even larger one, which I left for the extruder.
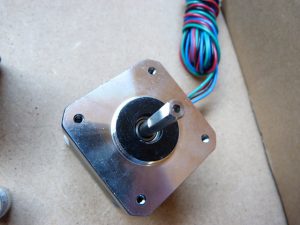
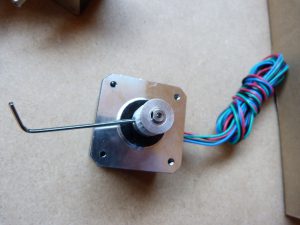
On the motor shafts you will find a flat surface, this is where the grub screw ( the one in the gear) will go onto, the reason behind this is that you can have a large flat to flat contact and the gear not slip. Even if it comes a little loose then it will not slip. If the grub screw is tightened onto a curved surface there is only a very small contact area and the risk of it slipping is great.
Find the allen key which fits the grub screws and be careful not to overtighten this and round it off.
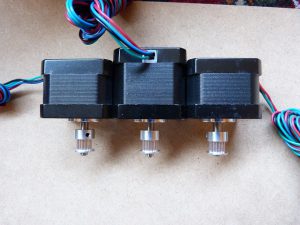
Repeat this for all three motors and then place them carefully back in the box.
Initial assembly of the extruder
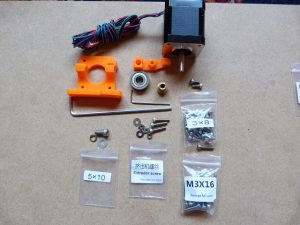
The extruder (the part of the printer which pushes the filament towards the hot end). The motor is the largest one found in accessory box 2, along with two injection moulded parts found in the injection parts bag. If there is three of it, its not that part.
You will need the parts in the 5X10 screw bag, two 3X8 screws, one M3X16 screw and the parts in the extruder screws bag.
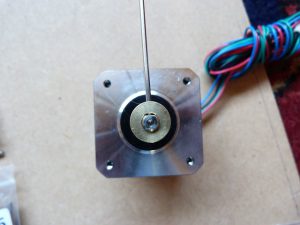
There are spares here so don’t look for spaces to fit the nuts and screws that aren’t there.
Fit the hobbed gear ( the brass one with the grooves cut into it ) to the shaft of the stepper motor. Tighten as for the timing gears above.
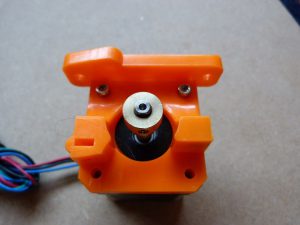
Fit the large moulding as shown in the picture with the two M3X8 screws.
Note – to save you taking the motor off again – as I had to, make sure the wires from the motor are in the opposite direction as shown in this picture.
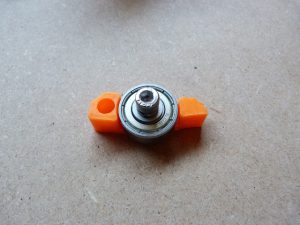
Using the bearing, 5X10 screw, washer and smaller moulded part – fit together as shown in the picture.
Make sure you are able to rotate the bearing easily, that it is not loose and you don’t overtighten the screw into the plastic.
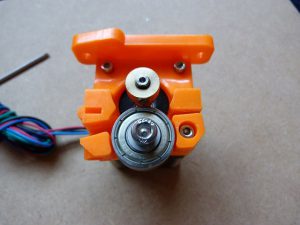
The two parts are fitted together next. The idler wheel and the extruder. There is one M3X16 allen screw used to hold the pivot point. Don’t tighten it down so that the idler cannot move, but don’t have it so loose that the idler flops around.
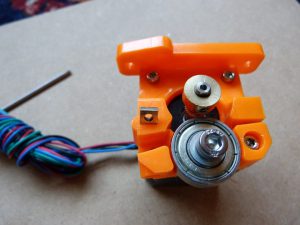
A square nut is placed into the recess in the main moulded part as shown in the picture.
I found that I needed to push it down using one of the allen keys ( the one used to tighten the gears does it)
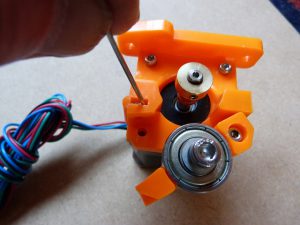
one of the screw from the extruder screw bag – with a nut placed onto the thread and run right down to the head. A washer is placed onto this screw and this is inserted into the idler assembly.
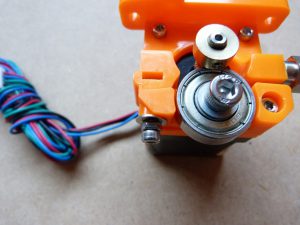
The screw should catch onto the inserted square nut. Again do not tighten fully as this will be used to add tension to the filament as it comes through the extruder.
The extruder is placed to one side for the moment as we get onto the largest assembly part – the frame.
Hopefully you have managed to complete the assemblies so far – if you have had any problems or have any advice to add please leave it in the comments box below. So if you want to continue with the build your own 3d printer kit project click here for the second part.
Thanks for reading
Phil
