
What Anet A8 upgrades have you done?
Buying a 3d printer is exciting.
Putting together an Anet A8 can be frustrating but rewarding.
Printing with it is brilliant.
But one problem is that you cannot see what you are printing!
So how do you fix this?
With more anet a8 upgrades to led lights to your machine of course.
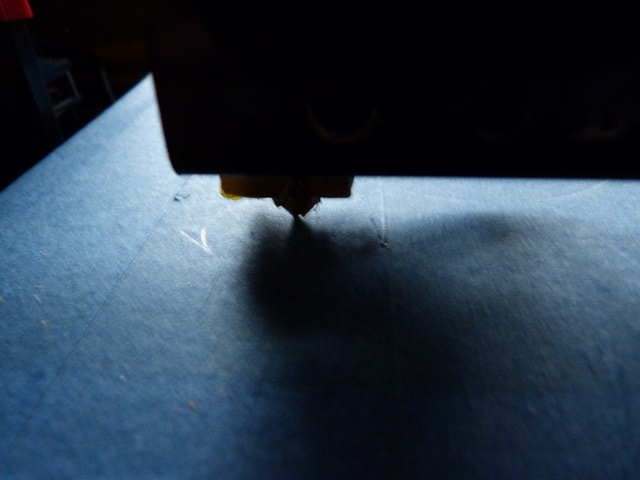
So where do we need the light?, under the printer nozzle bracket.
Does the power supply have enough power for this mod , I have heard…
As long as you are sensible and don’t go mad there is sufficient in reserve to light up some leds so you can see what the printer is doing.
Is it difficult?
Well if you can solder it makes things easier, but if you cannot don’t worry we can sort out a solution.
What do I need?
A (#amazon link) strip of leds, some wire and if you want to turn it off a (#amazon link) switch.
Note: if you use daylight white you should be able to see the colour as it should be.
The led kit comes with a couple of connectors to use if you don’t want to solder the wires on.
Is that it?
Oh – I forgot the tools, if you are soldering – soldering iron, solder, cutters, pliers, screwdriver for the screw terminals.
So what do I do
Don’t forget to unplug the printer from the mains before carrying out any procedure like this.
I fitted my light across the base of the U bracket holding the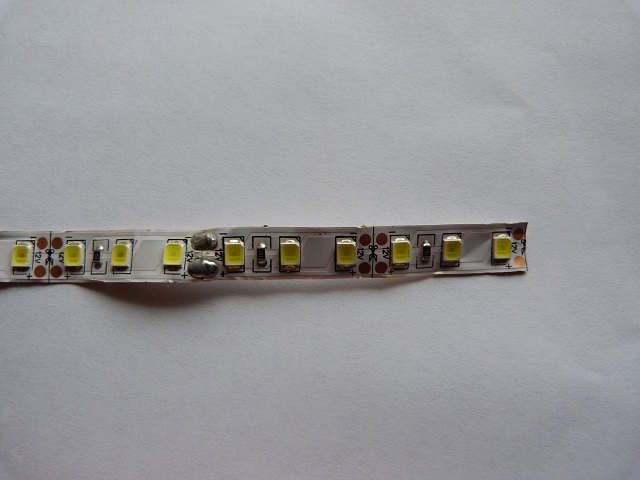
So I measured the length and cut a short strip ( 6 leds)
Knowing these are suitable for 12v operation, as they have the resistor already fitted, I knew that if I cut the strip where it is indicated then all I have to do is supply 12v and they will light up.
The wire I am using is left over from another project, it is 7/0.125mm ptfe insulated wire.
You can use whatever you want, but remember that the wire is


adding weight to the moving mass and will all add to overshoot. So the lighter the better. Make sure it is flexible as it will be moving while the head is printing. I would suggest something like this.
If you are wiring it in as I have you will need a switch, I have used a single pole double throw (on/off) switch. Like this one.
Setting it up
with the leds – you will need to attach the wires.
Check out which pad is positive and solder the red wire to that.
The other pad is the negative, so go ahead and solder the black lead to that.
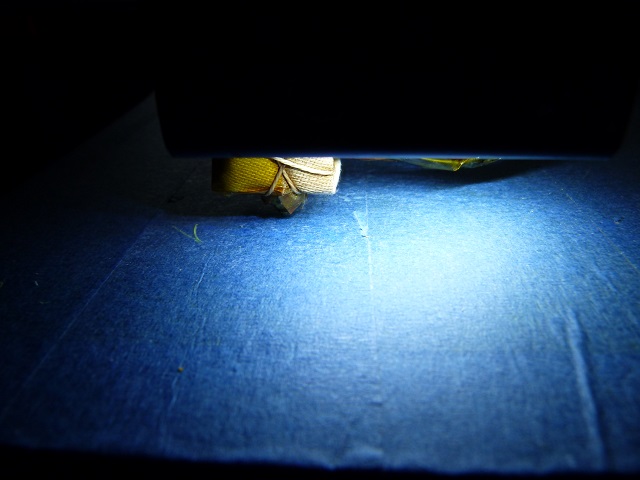
Without bending the solder joints, remove the paper backing form the leds and stick them to the lower part of the u bracket on the extruder.
The wires I fed up with the heater and thermistor wires and tucked them through the cable wrap every few turns.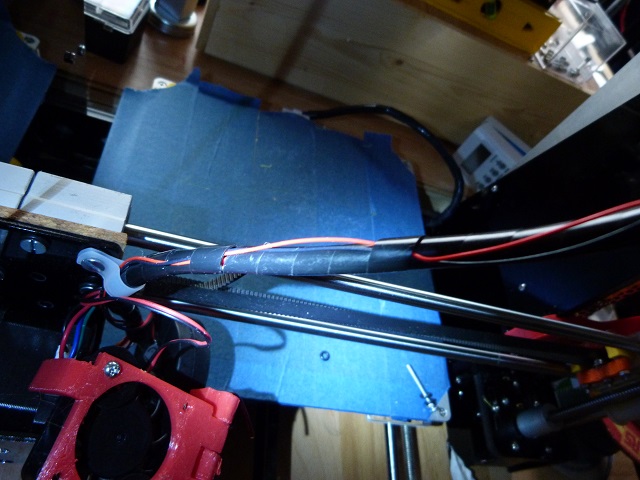
I carried this on until I got to the feed hole for the motherboard.
The red wire I looped up to the top of the frame, this is where I placed my switch.
Instead of drilling a hole I stuck it on with double sided tape to the rear of the frame.
With a single pole double throw switch you have three connections.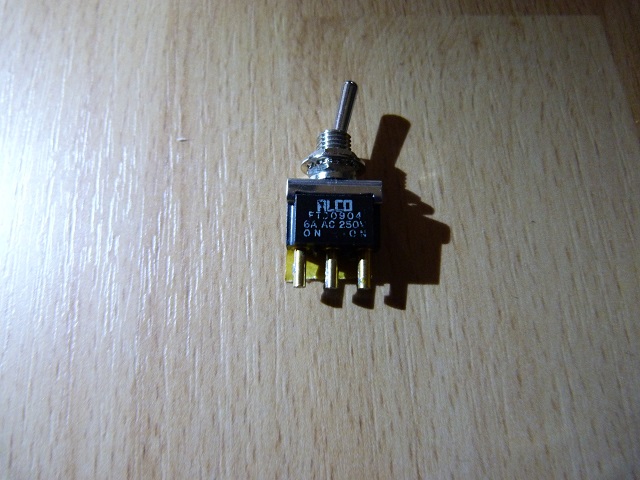
If you want the voltage on either of the outer pins, connect it to the middle pin.
If you don’t want it on one of the outer pins connect it to one end, the other end will not see this voltage, but it will be switched to the center.
So the 12v is connected to one end of the switch, and the led 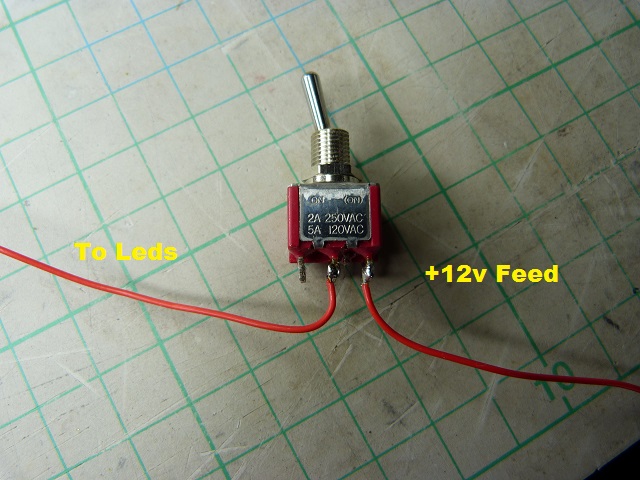
Switching one way the leds will light up and the other the leds will be off.
The only thing left to do now is to find a source of 12v.
I have connected the red and black to the 12v input to the 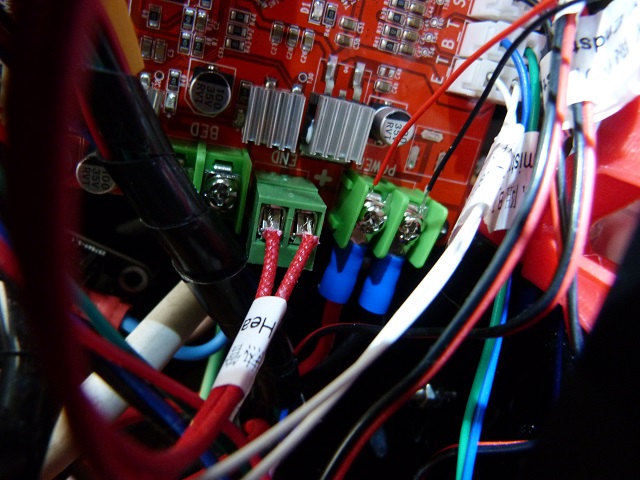
Unscrew the screws and poke the end of the stripped wire down between the contacts and retighten the screw.
Carry the same procedure out for the other wire.
Testing it.
Now comes the big moment.
With the mains switch in the off position and the led light switch in the off position, plug in the mains lead.
Switch on the printer.
If there are unusual noise or smells switch off immediately and investigate.
Normally it will be fine, the boot screen will appear on the lcd and all will be well.
Now switch the led light switch to on and you should see the underneath of the bracket lit up.


You will be able to see what your printer is doing whenever you want.
It is a good idea to leave the switch in the off position when not using the lights, not from a current point of view but one of heat.
Leds dissipate heat and the position of these will heat the bracket up slightly, the fan will keep it cool but any added heat over a long period of time may cause the extruder to heat up to the point of the filament going soft and jamming in the extruder.
Uh oh it doesn’t work – now what?
When I switch the switch on there is no lights – help
Ok – so there a few situations where this can happen.
Let’s take a logical approach to sorting it out.
Assuming you have a multimeter and can use one.
Switch it on to the voltage range.
Connect the black lead to earth – the black lead of the circuitry you just installed.
Connect the red lead to where the red of the lighting circuitry was fitted – do you have 12v?
Yes – good
no – Bad there appears to be no 12v for the circuit.
Is the printer switched on?
Yes – bad – because this means there is no supply to the printer.
no- switch the printer on
Is it there now?
Yes – good
can you switch on the lights?
With the switch in the off position do you have +12v on the wire from the motherboard?
yes – good
no – bad – this means there is a break in the wire from the motherboard.
Ok switch the switch to the other position.
Do the lights come on?
No- bad – if 12v is at the other side of the switch , this is faulty – short the two wires together to switch the lights on. or the leds are connected the wrong way round.
Yes – good
Lights all working another one of the Anet A8 upgrades completed
Hopefully you now have a working set of lights on your printer.
Switching these on will allow you to see what your printer is doing.
Just remember with the stock power supply you don’t have a lot of power to spare, so if you go mad and add loads of leds you may end up with not enough power to heat the bed or the nozzle and that would not be good.
Adding a few leds to light up the hotend and see what you are printing is fine with the standard power supply, this will hardly notice the extra power drain.
So that ends another Anet A8 upgrades : fitting leds lights, I hope you have enjoyed it and have managed to light up your models.
Thanks for reading
Phil