
3d print journal 01-12-17 : bed screws binding
A tale of woe about the dilema to drill out the base bed screw threads or not, and what a lucky chap I am, how I overcame the problem and what you should do if you haven’t got to this stage yet.
And how I initially level my bed to prevent the nozzle crashing into the surface of the print bed.
Read on to find out what happened.
I had to change my nozzle on my Anet a8.
You know what this means – yep the bed needed levelling again.
So once the nozzle was tight, and the hotend up to temperature and the nozzle checked again.
On with the bed levelling.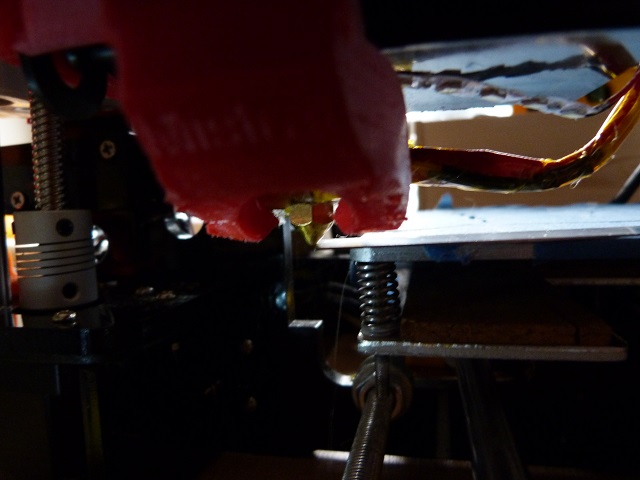
My method is to use a 6” (150mm) steel ruler flat on the bed – [amazon_link asins=’B000LFXRNQ’ template=’ProductLink’ store=’ukps1′ marketplace=’UK’ link_id=”]overhanging to touch the nozzle.
This way I am sure that when placing over the bed it will not leave an impression.
So adjust the front left screw so that it is on top of the ruler.
Move the print nozzle over to the right to carry out the same procedure and adjust that screw.
While turning the screw it started getting tighter – uh oh – binding – STOP.
I stopped and looked at it – as if that would help!
I tried turning it the other way and no it was starting to bind good and proper.
Oh well is this the time to stop and drill out the holes in the base plate and fit the printed wheels for adjustment?
I knew the time was coming, but didn’t really relish the idea of stripping it down again.
Trying the other screws at the rear of the plate, they were tight but not binding.
So with a sigh I sat and thought, how to remove that screw without too much swearing and anger.
Looking around I spied a can of machine oil, well I have just been reading about lubrication, a post on how to care for your bearings is coming up soon.
But there is a spring in the way on top and it will just run off under the plate.
So with a pair of pliers I tried to hold the spring up and every time I thought I had it, it would just slip off the pliers and be back in the same place, ok what about a screwdriver under neath the spring and acting as a lever – nope that didn’t work either.
Hang on what was that behind the machine oil – white grease in a [amazon_link asins=’B006UCJ4AE’ template=’ProductLink’ store=’ukps1′ marketplace=’UK’ link_id=”]can.
Hmm…
Spraying that onto the spring at least some of it will go through and land on the threads. And underneath then it will stick to the thread without too much dripping off.
So with a small jewellers screwdriver – I don’t think that did anything except get covered in grease I sprayed the top threads of the screw and underneath the plate. A paper towel caught any drips that were going to land on the base board.
I wonder.
Gripping the screwdriver I tried the screw again, that was a little easier, so I turned it the other way, nope binding again. So back again – yep that turns – except it is compressing the spring, not what I want!
Looking around again for inspiration – third drawer down in the right back corner! – I saw a brass bristled brush.[amazon_link asins=’B01CESN3EU’ template=’ProductLink’ store=’ukps1′ marketplace=’UK’ link_id=”] Using this I gave the threads a quick brush off holding a piece of paper towel to catch the spray of grease.
Ok, this time I thought. Rotating the screw so the spring was being released I held my breath, it turned and turned. Past the point of binding, the glimmer of a smile crossed my face.
YES, it is coming out and it did.
I forgot to take pictures in my excitement, so you will just have to take my word for it that one of the threads was completely filled with aluminium from the base plate thread.
So yes it is not really happy.
So now do I clean up the thread and try again or do I strip it all down and drill out the base plate?
Finding a M3 nut, I ran this up to the point where the thread was clogged, I don’t have a spare screw.
Holding the nut in molegrips( vicegrips) I turned the screw past the [amazon_link asins=’B0030HKYZ6′ template=’ProductLink’ store=’ukps1′ marketplace=’UK’ link_id=”]obstruction, yes it went tight but it did come through.
Looking at the thread I thought well that did almost nothing! The thread still looked blocked.
What now?
A scalpel blade is tougher than aluminium, so laying the screw flat on the top of my worktable I proceeded to roll the screw, while holding the scalpel against the thread.
Little bits of aluminium were starting to come off and the thread looked cleaner.


After a few minutes of this I felt that was enough.
Putting the screw back into the hole in the heated bed, a w
ry smile crossed my face – had I been that lucky? We’ll see.
And fair enough, the screw went down and feels a lot better, not loose but freer.
I sprayed all of the other screws and wound them up and down a few times and yes I can recommend carrying out this process before you get to the stage of the screws binding.
So from this slight diversion, which took the best part of two hours to clear, back on with the bed levelling – or in this case setting the bed up from scratch.
As I had been winding the screws up and down getting the grease into the threads I had really messed up my bed levelling and Z height.
So sitting down, sighing, I knew that if I wanted the printer to work again then I needed to get on with it.
So back out with the ruler and front left, just touching the top of the ruler, move the print head – not over the print bed, over to the right and screw that screw in – and smile at the ease which it turns now!
Yep just onto the ruler, print head back over to the left , readjust this screw. Back to the right readjust, back to the left, very little adjustment.
So now to the rear, yep miles out, screw the rear left in until it touches the ruler, over to the right.
Back again, you get the picture, half an hour later, I can now say that the bed is just about levelled with a gap of 0.5mm – yes I know that is too high, but the nozzle will not dig into the bed when first adjusting over the bed will it?
I have a cal circle I use – thanks to kisslicer, a single layer 75mm diameter circle printed slowly.
This allows you the time to adjust the screws live to get the bed close to the nozzle.
So yes at first no filament stuck to the bed until I got closer.
With the print going across the bed you can adjust the screws and see the result of the adjustment immediately.
Once you are happy, stop the print, and clean the bed of filament.
Check the nozzle for contamination and print a fresh one, just to make sure you are there.
Mine checked out at 0.19, 0.25, 0.3 and 0.25 in each quadrant. That’ll do.
So now I can get back to printing.
Thanks for reading and I hope you will get out the grease and lubricate the bed levelling screws before they start to bind.
If you have a good way of levelling the bed why not share it in the comments box below.
If you want to be kept up todate then why not sign up and be the first to see the post.
Phil