

Having had my anet a8 for over a year now I am getting quite used to it.
I am just going through a mod for adding an e3d v6 all metal hotend clone, with interesting results, but that’s another story.
One of the main things I with my anet a8 at the start was bed leveling.
I would go through the Anet A8 bed leveling process and the prints would not stick (nozzle too high) or the filament would not come out (nozzle too low).
What was I doing wrong? Why wouldn’t it work properly?
But I understood that bed leveling was nothing to do with using a spirit gauge to get the bed perfectly level. It was to do with getting the nozzle the same distance above the whole of the bed. So you are adjusting your bed to the height of the nozzle with the Z axis set to 0.
Make sure your Z axis height is the same on both sides first.
Before You Start the Anet A8 Bed Leveling Process
Well there were a few things I had to do first to stabilise my machine before the leveling worked.

One of the main ones was to add a base and screw it down.
If you move the front up by 0.4mm then the bed leveling will be out- and this may happen with the weight of the bed moving back and forth if you don’t bolt it down.
Create a Solid Base for the Anet A8
So screw it down to a flat piece of wood or a cabinet top.
I created a box for mine so I had storage underneath it.
The top was is made of laminate floorboards.
The sides of the box are made out of tongue and groove floorboard with the groove modified to accept the top ( the inner part of the groove is gone and the top rests on the ledge left).
A brace has been put across the top at the front to stiffen up the structure. As can be seen in the picture above.
Sort out the Z Axis Stop
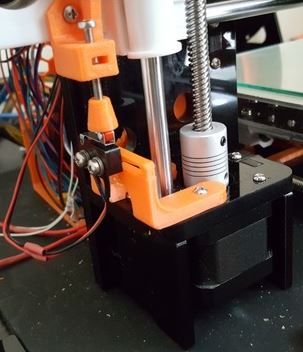
The other one which makes all the difference to stock parts is to change the z stop. Mine would always start to work loose, so the z zero height would be adjusting, messing up the bed leveling.
So I used this anet a8 z stop.
Make sure the screw goes into the plunger straight – mine is crooked, as this can give you unexpected results when adjusting the z height.
With this mod one turn of the screw will adjust the Z axis about 2mm. So you need to be light with the adjustment.
If this is the adjustment before your first print then tighten up the z stop as much as possible and use the bed adjustment to bring the nozzle close. Once printing, make it a priority to print off the z stop adjuster.
Check your Bed Flatness
Another thing to do is to check your bed for flatness with a steel ruler – you may find that at the very edges it does bow up or down as well as a little bit close to the hole where the thermister is.
You can either accept this as I have or flatten it on a piece of float glass with a sheet of wet n dry taped to it – don’t forget to add water with a little dishsoap as a lubricant.
I have not tried this but it should give you a flat surface to work with if the bow it too much.
Clean Your Nozzle
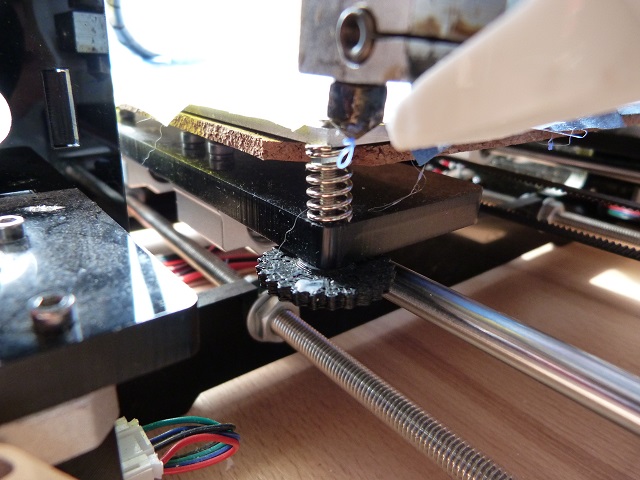
Before leveling the bed check that the nozzle is clean of any filament sticking out. This will cause an error to the height adjustment and will cause failed adhesion prints- from experience!!
If there is filament sticking out then switch on the printer and go to control → temperature and set the nozzle to 190. Press back until you get to the home screen and wait for the temperature to stabilise.
Wipe the nozzle with a clean paper towel or cloth, making sure you don’t burn your fingers.
Set the temperature to 0 and allow to cool, make sure there is no ooze as it was cooling down!
Tip for the Threaded Bottom Plates
If you have one of the older Anet A8’s then you may have the screws going through the bed and threaded into the lower plate. If this is the case and they are stiff to turn then carefully remove them and add a bit of grease ( I use (#amazon link) lithium grease) to the threads and put them back in. This will prevent the threads from binding and stripping. Makes it a lot easier to adjust as well. I used a spray can as my screws were starting to bind and this could spray between the spring. It worked and they are loose.
If you have one of the newer ones with a clearance hole and wing nuts underneath the lower plate then it might be worth considering printing off the easy to use round adjusters. The only thing I would add is some kapton tape over the lower part of the bed where the washers go to add another layer of insulation, I have heard of the bed shorting out with the washers.
Anet A8 Bed Leveling Process
Switch on the printer, leave it cold.
Make sure there is no filament sticking out of the nozzle.
Send the printer to its home position.
Manually raise the z by 2-3 mm.
Move the X axis by 25mm.
Move the Y axis by 25mm.
Move the Z axis slowly down to the bed and place a piece of paper between the bed and the nozzle. Or a feeler gauge of 0.2mm.
There should be drag on the paper or feeler gauge.
Looking down from the top
Turning the screw adjuster anticlockwise will raise the bed and turning clockwise will lower the bed.
With the nut adjuster turning anticlockwise will raise the bed and clockwise will lower the bed.
If there is a large gap then you will have to go around two or three times before it settles.
Don’t press down too hard as this will possibly put pressure on the lower plate and throw out the adjustment.
Once you have adjusted this corner then raise the Z axis by 1mm and move the x axis to 175mm ( you don’t need to be exact).
Lower the Z axis to 0mm.
Now adjust the front right adjuster to feel the drag on the paper.
Raise the Z axis by 1mm.
Move the Y axis to 175mm.
Lower the Z axis to 0mm
Adjust the rear right adjuster for drag on the paper.
Raise the z axis by 1mm
Move the X axis to 25mm.
Lower the z axis to 0mm.
Adjust the rear left adjuster for drag on the paper.
Raise the Z axis by 1mm.
Now adjust the Y axis to 25mm.
Go to the home position then raise the Z axis by 1mm and go back to X 25mm, Y 25mm.
Lower the Z axis to 0mm.
Check and readjust if necessary for drag on the paper.
If the drag is still the same as it was then good. If not, it is a pain, but go around again and readjust all four corners until you are confident that the gap is consistant.
After the Manual Process
Test print
I use a single layer circle test print 100mm diameter 0.2mm thick.
Download the test circle.
If you now load up the test print, wait for it to start printing.
You will see what is happening with the nozzle as it comes down to make the first part of the print.

If it doesn’t stick then adjust the corner to either raise the bed if the nozzle is too high or lower the bed if the nozzle appears to be too low.
If the print hasn’t stuck after the first half circle then abort the print.
Remembering that a turn of the screw is 2mm tweak the adjusters in the direction you need to and start the print again – after wiping the printers nose.
Once this test print sticks and prints completely then use a marker pen and mark the forward direction so you can orientate the print. Peel it off carefully and measure the thickness of it. Measure in the two axis – both diresctions – is it consistant at 0.2mm (ish).
Use this test print to more accurately setup your printer – don’t be too obsessive.
Print it again and check for consistancy.
Once you are at this stage then you know that any print you do now should stick with a first layer squished down.
Remember to go slightly more squished rather than less as once your model goes upwards it has less chance of detaching if it is adhered to the bed more.
Every few prints ( preferably before every print) clean your print bed.
Did you manage to get Your Anet a8 bed leveled?
Good luck with this, and leave some comments if you feel that you have a better method for anet a8 bed leveling.
Thanks for reading
Phil